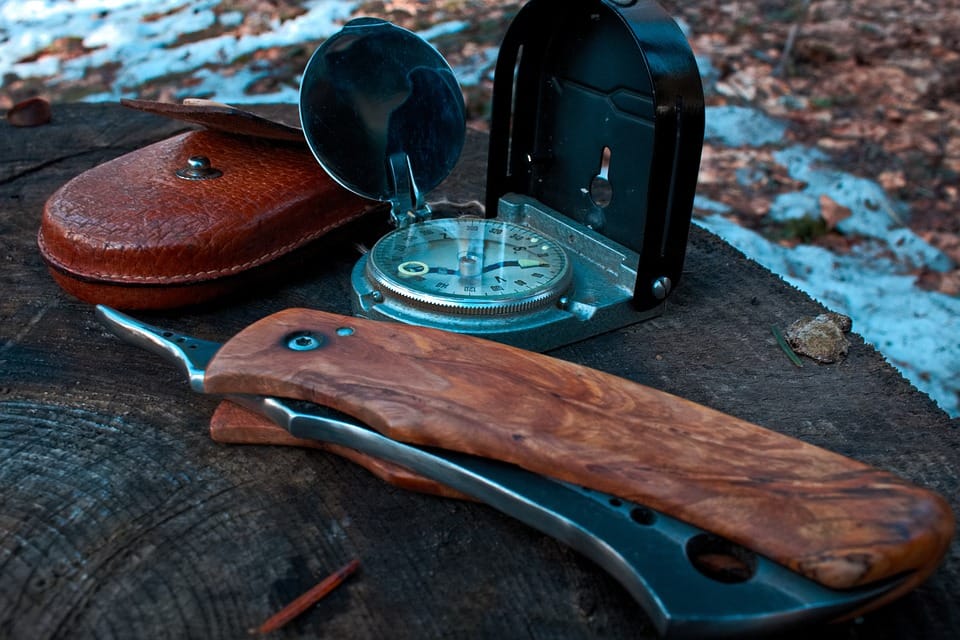
The Ultimate Guide to Engraving a Pocket Knife: Tips and Tricks
Are you ready to elevate your pocket knife game by adding a personal touch? Engraving a pocket knife can be a daunting task, but with the right techniques and knowledge, you can create a unique and personalized design that reflects your style. In this ultimate guide, we’ll walk you through the process of engraving a pocket knife, providing you with expert tips and tricks to make the experience enjoyable and rewarding.
Basic Principles of Engraving
Choosing the Right Engraving Tool
Before you can even think about creating your design, you need to choose the right engraving tool. There are many options available, from traditional manual tools to advanced electric devices. Here’s a table comparing some popular options:
| Tool | Description | Pros | Cons |
|---|---|---|---|
| Manual Engraver | Handheld, manual device with interchangeable tips | Portable, cost-effective | Time-consuming, requires skill |
| Electric Engraver | Automatic, electric device with adjustable speed | Fast, easy to use, precise | Expensive, requires maintenance |
| Laser Engraver | High-tech, computer-controlled device | Fast, precise, versatile | Expensive, requires training |
Understanding the Engraving Process
Engraving a pocket knife involves several steps:
- Design: Create a design for your engraving, considering the knife’s shape, size, and material.
- Preparation: Clean and prepare the knife, removing any debris or residue.
- Engraving: Use your chosen tool to engrave the design onto the knife.
- Finishing: Touch up any mistakes, add a protective coating, and package the knife.
Designing Your Engraving
Typography and Graphics
When it comes to designing your engraving, consider the following:
- Typography: Use a font that’s easy to read, with a bold or italic style to make it stand out.
- Graphics: Add simple graphics, such as lines, shapes, or icons, to create visual interest.
- Color: Use contrasting colors to make the design pop, but be mindful of the knife’s material and finish.
Tips for Successful Engraving
Tips for Beginners
- Start simple: Begin with a basic design, focusing on one or two elements at a time.
- Use a template: Create a template to help guide your design and ensure consistency.
- Practice, practice, practice: Don’t be discouraged if your first attempts are unsuccessful – practice makes perfect!
Advanced Techniques
- Layering: Use layering to create depth and dimension in your design.
- Shading and highlighting: Add shading and highlighting to create texture and visual interest.
- Calligraphy: Practice calligraphy techniques to add a personal touch to your design.
Common Mistakes to Avoid
Common Errors
- Inconsistent lines: Make sure your lines are evenly spaced and consistent in thickness.
- inking errors: Check your design for any errors, such as misspelled words or poor alignment.
- Material fatigue: Be mindful of the material and finish of your knife, and avoid using tools that can cause damage.
Frequently Asked Questions (FAQs)
- What is the best tool for engraving a pocket knife?
- The best tool for engraving a pocket knife depends on your skill level, budget, and personal preference. Begin with a manual or electric engraver for a more hands-on approach.
- How do I design my engraving?
- Use a graphics program, such as Adobe Illustrator or Sketch, to create a design that’s scalable and editable.
- What are some common materials used for engraving?
- Metal, glass, plastic, and wood are all popular materials for engraving.
- Can I use a laser engraver for a pocket knife?
- Yes, laser engravers can be used for pocket knives, but be cautious of the material and finish, as they can damage certain materials.
- How do I finish and protect my engraving?
- Apply a protective coating, such as clear epoxy or varnish, to seal and protect the engraving.
Conclusion
Engraving a pocket knife requires patience, skill, and practice. By following the tips and tricks outlined in this ultimate guide, you’ll be well on your way to creating a unique and personalized design that showcases your individuality. Remember to stay patient, stay focused, and, above all, have fun!
